Written and illustrated by Karen Quinn
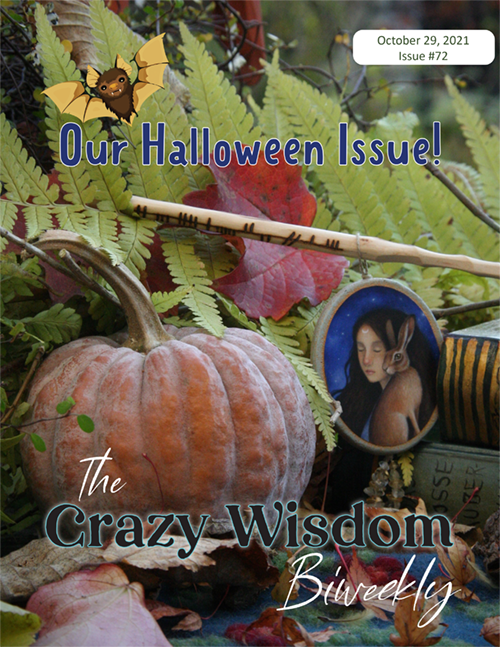
Autumn is the season of bounty, and it’s so easy to end up coming home after a wander into the natural spaces around us with pocket loads of natural treasures. Why not engage in some creative crafting with your harvest? Here are a few of my favorite autumn wild crafts to make the most of your gathering.
Black Walnut Ink
If you find yourself along a trail littered with these citrus-looking fruits, gather a few of them up and try making your very own ink! I find I only need about ten walnuts for a nice, small batch. Make sure they are yellowish-brown and well-bruised, but take care when putting them in a pocket. The tannin, or black ink, they weep will stain your clothes. I suggest putting them in a basket or a bag to transport them home. The hulling process is outlined in the Fall Foraging article on page XX, so check there for that step-by-step process, and be sure to take note of the preservation methods for the nuts. You’ll already have them, so you might as well eat them!
Supplies:
An enamel or steel pot: Don’t use a pot you cook food in! Once used, this pot will become your ink pot or “experiment pot” as I call it.
Cheese cloth, sieve, or fine mesh strainer; Again, don’t reuse it for cooking food.
Bucket: you can reuse the bucket that held your husks after hulling them.
Paper and paintbrush: for testing the ink as it darkens.
Ingredients:
10-20 black walnut husks
Baking soda
Water
Clove Buds
Once you have the husks, take stock of how much you seem to have and find a pot that you don’t mind using for experiments (you shouldn’t use it for food again). If you don’t have an experiment pot, a quick pop over to your local thrift store will do the trick. Once you have chosen your new ink-making pot, add the husks to the pot and cover them with water. Add a teaspoon of baking soda to help the husks release the tannins that make the ink. Bring the pot to a gentle boil, then turn the heat to low. Let it boil for about five minutes, then turn off the heat, and let the hulls steep for at least one hour up to overnight, uncovered. Test the ink after an hour. If you want a darker ink, simply let it sit longer. Once you have reached your desired color saturation, place the cheese cloth, sieve, or strainer over the bucket and pour the contents of the pot through. Then, transfer the ink into jars. I add about five clove buds to each ink jar to help keep it from molding.
I love using my homemade inks as watercolor pigments in my paintings. If you want a range of color, you can pour the ink off at different steep times to get variations in the pigment as well. Happy experimenting!
Pinecone Bird Feeders
There is nothing I love more than a warm cup of tea as I watch the birds at my bird feeders in the morning. So, naturally, one of my favorite autumn crafts is for the birds! As I wander the forests each autumn, I always come across pinecones that can be used for these quick, fun feeders. I like to choose cones that are a little larger (more surface area means more seeds and bigger birds!) and “open” meaning the scales are spread out. Once you’ve procured your perfect cones, it’s time to craft.
Supplies:
Pinecones; large, open scaled
Peanut butter: I have used smooth and chunky, both work great.
Bird seed: I use a wild songbird mix
Twine or string
Scissors: to cut the twine/string
A plate or cookie sheet; for a work surface
A bowl: to hold your birdseed
A butter knife: for spreading the peanut butter
Now, I’ve seen some sites telling you to bake your cones, but that is absolutely unnecessary. Baking kills any bugs or fungus so you don’t end up with a moldy garland or a bug eruption from your natural potpourri, but birds love eating bugs, so just let them be.
Prepare your space before you start the project to keep the peanut butter explosion to a minimum. Put your supplies on a table and pour your bird seed into the bowl. This makes the flow of creation much smoother and cleaner.
Our first step is to tie the twine or string to the top of the cones. I tend to tie all the cones before I start working with the peanut butter. I usually tie a slip knot and weave it through the top few scales and make a knot at the rachis (top of the cone), leaving a large loop on the top. But it really doesn’t matter how you do it, so long as the cord is secure and the loop at the top is large enough to use as a hanger.
Now comes the fun and messy part—coating the cone in peanut butter. I personally put my peanut butter right on my work surface and roll my cone in it for the first goopy layer. Then I use the knife to add or move the peanut butter around, so it gets a good, even coating. Again, it doesn’t really matter how it happens, so long as the end product is an evenly coated pinecone. The more peanut butter there is on the cone, the longer the feeder will last and the more seed you can stick to it. More seed equals more bird watching fun.
Once you are happy with your peanut butter application, simply roll the pinecone in the bowl of seed. You can add seed into specific areas by hand to fill it out.
Last step (after cleaning up, of course!) is to hang your homemade feeders out for your bird friends to enjoy! There’s no right or wrong way to hang them, but I do keep in mind the bird’s safety when I place them, making sure to hang them in a slightly covered area so they aren’t out in the open for raptors to snatch up while their guard is down. There is also the fun game of Squirrel Keep-Away to consider, so trying to hang them in a way that doesn’t lend itself to squirrel shenanigans is also encouraged. But, most importantly, hang them somewhere you can enjoy the show as your bird friends enjoy the fruits of your labors.
Natural Garlands
This may be, far and away, my favorite craft for displaying my autumnal treasures. All you need is your favorite gathering basket, your favorite wandering path, the bounty of the season, and a length of cording to create memorable decorations each time you wander the natural world.
As you walk, pick up literally everything that makes you happy. Colorful fallen leaves, nuts, seed pods, mushrooms, small stones, pieces of wood and bark, fruits, flowers, bones, shells, you name it! Just pop them into your basket and when you’ve finished your wanderings, head home for craft time.
Supplies:
Cording: this can be any kind of natural cording or rope. Just make sure it will break down over time and doesn’t contain plastics or dyes.
Scissors
Now let’s get creative! If you have a large, blunt embroidery needle that you can fit your thread through, this makes the process of garland creation fairly simple. Once you have thread your needle, you can “stitch” your treasures onto your cord. If you don’t have a needle, a nail or any other sharp object will work to punch holes into your supplies to thread your cord through. Make your garland as dense or sparse as you like, what’s important is you enjoy it. If you want to keep your treasures in certain spots on the cord, tie a knot on either side of it so it doesn’t slide around.
Get creative! If you found a stone you liked, try wrapping it in the cord or a thin wire and then hanging it from the main strand. Shells and bones can be attached in the same manner. You can tie cinnamon sticks onto the garland, as well as dried slices of oranges and apples to make a tasty garland that can go outside to feed the wildlife in your yard. It also makes for a lovely garland that will lend itself to the festive decorations of the winter season as well. The best part is, once you’re finished with your garland, you can remove any treasures you want to keep and release the rest back into nature.
Happy Crafting!
Karen Quinn is a writer and artist who homesteads on a rural urban farm in Livonia, Michigan with her husband, son, and menagerie of animals. Her favorite things are napping, exploring, and drinking tea.


















































































Autumn is the season of bounty, and it’s so easy to end up coming home after a wander into the natural spaces around us with pocket loads of natural treasures. Why not engage in some creative crafting with your harvest? Here are a few of my favorite autumn wild crafts to make the most of your gathering.