
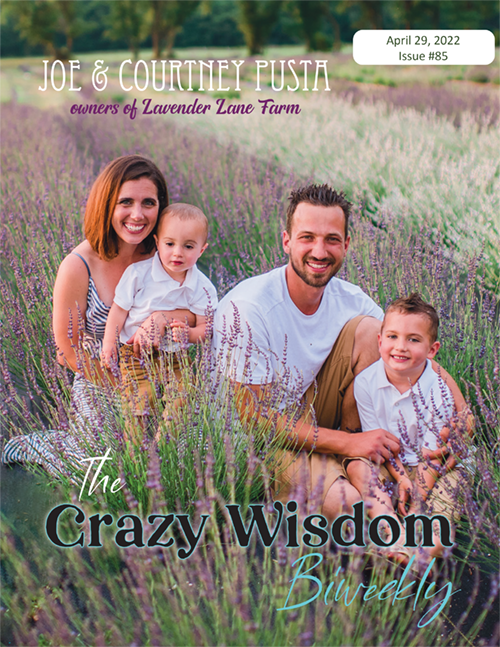
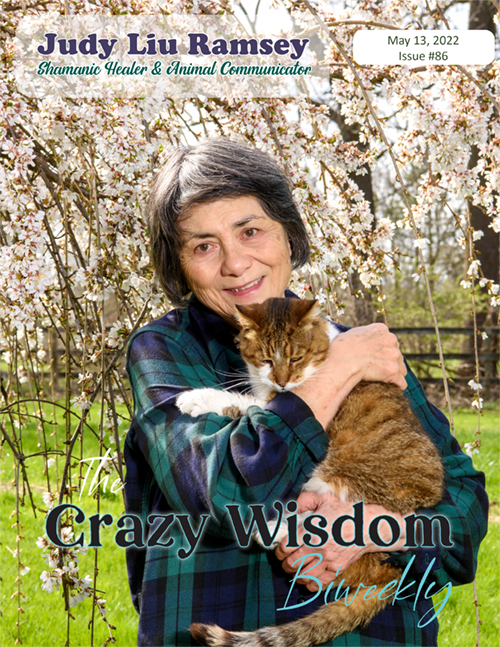
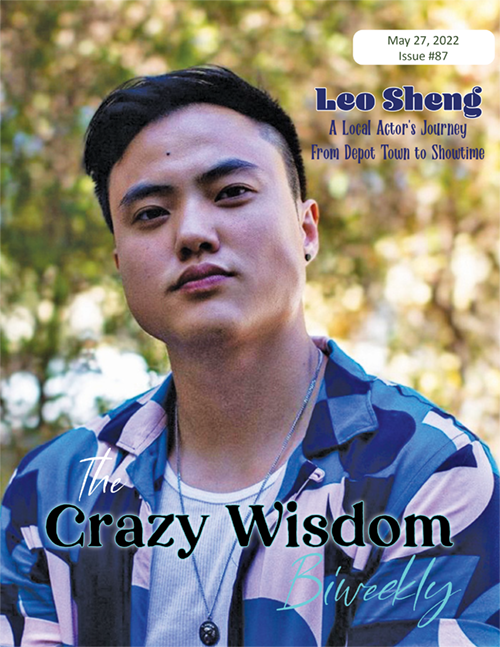
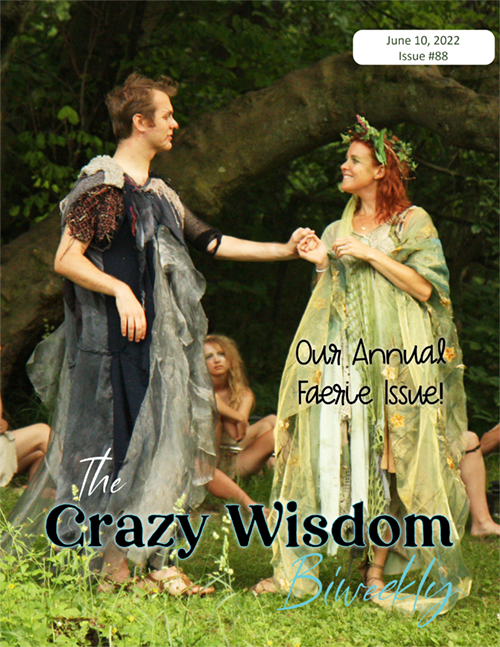
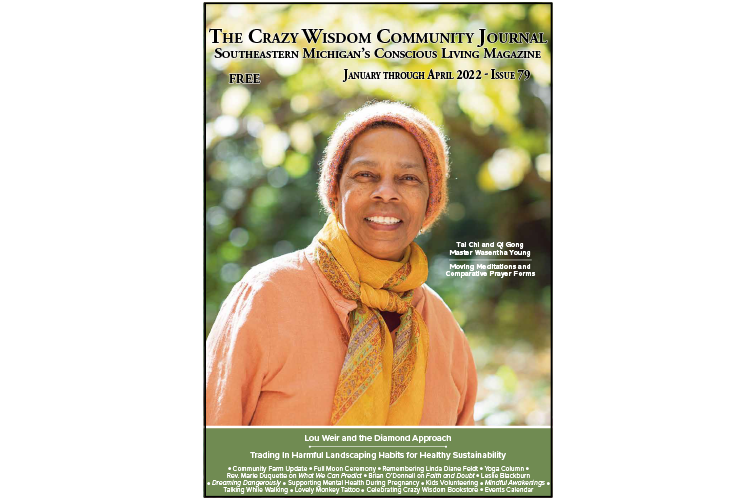
By Jennifer Carson

Warm up your gloomy winter days with these woodsy gnome coasters. I used both woven wool scraps and wool felt to create these whimsical little guys. Wool is a great material to absorb the water from a sweaty glass or protect your table from a hot mug. Using a hot steamy iron you can get the wool to lay nearly flat, so it’s a nice even surface for your glass to sit on, too. This is an easy no-sew project, but can also be embellished using a blanket stitch. Best of all, each gnome you make will be unique. Happy creating
Materials needed:
•Coat weight wool for base, 4 ½” wide x 9” long per coaster
•Woven wool or wool felt scraps in your choice of colors for hat, face and ears, nose, beard, star, and shirt.
•Coordinating embroidery floss if desired
•Heat and Bond Lite adhesive paper 4 ½” wide x 15” long

1. Using a pencil and a well-lit window or a light box, trace the applique pieces onto the paper side of your iron on adhesive. Be sure to trace one ear and one sleeve opposite so that you have a right and left ear/sleeve. Find the pattern pieces at the end of the post!

2. Cut your adhesive pieces out and group them according to what material you are going to cut them out of. Set aside while you iron your fabrics.

3. Cut two circles from your base fabric to make your coaster bases. Cut one circle from your iron on adhesive that is 1/8” smaller. Iron with a hot steamy iron the wrong side of one of your circles. Set aside.
Read related article: A Little Winter Twitter--Crafting an
embroidered Chickadee pin

4. Iron your cut out adhesive pieces to the wrong side of each fabric. Cut each piece out on your drawn line and peel the backing paper off.
Arrange your pieces on the coaster base without the iron on adhesive. The shirt and sleeves will hang over the edge of your circle. Press with your hot iron. Trim the extra shirt and sleeve material off following the curve of your coaster base.
For an easy no-sew project, you can iron the coaster bases together with the adhesive in the middle and voila, you’re finished! To add the hand-sewn details, use two strands of matching floss and small blanket stitch to sew the edges of your gnome. When finished stitching, then iron the coasters together, with the adhesive circle in the middle.
Blanket stitch edges of coaster if desired.


Jennifer Carson is a local author and artist who enjoys creating beautiful items for home and family including: cards, stickers, wool candle rugs, bags, quilts, Waldorf dolls, stuffed animals, and more! You can see more of her work and peruse the over 60 available crafting patterns on her website thedragoncharmer.com.

Related Articles:


Autumn is the season of bounty, and it’s so easy to end up coming home after a wander into the natural spaces around us with pocket loads of natural treasures. Why not engage in some creative crafting with your harvest? Here are a few of my favorite autumn wild crafts to make the most of your gathering.