

by Jennifer Carson
I love seeing the flash of dark color against white snow when the chickadees come to eat at my birdfeeder. Chickadees are one of a handful of birds that stay in Michigan when the snow comes calling and their songs are sure to lift your spirits when the day is gray. This little chickadee pin looks deceitfully hard to make, but is really rather simple. It will make a great gift for a friend who needs a bit of a mid-winter cheer.
Materials:
2 ½” x 5” rectangle of black wool felt
5” square of white wool felt
2 ½” rectangle of Pellon fusible web
Black, white, cream, and gray embroidery floss
1 black glass seed bead
1 sew-on pin back
Small scissors, embroidery needle
Iron
Freezer paper
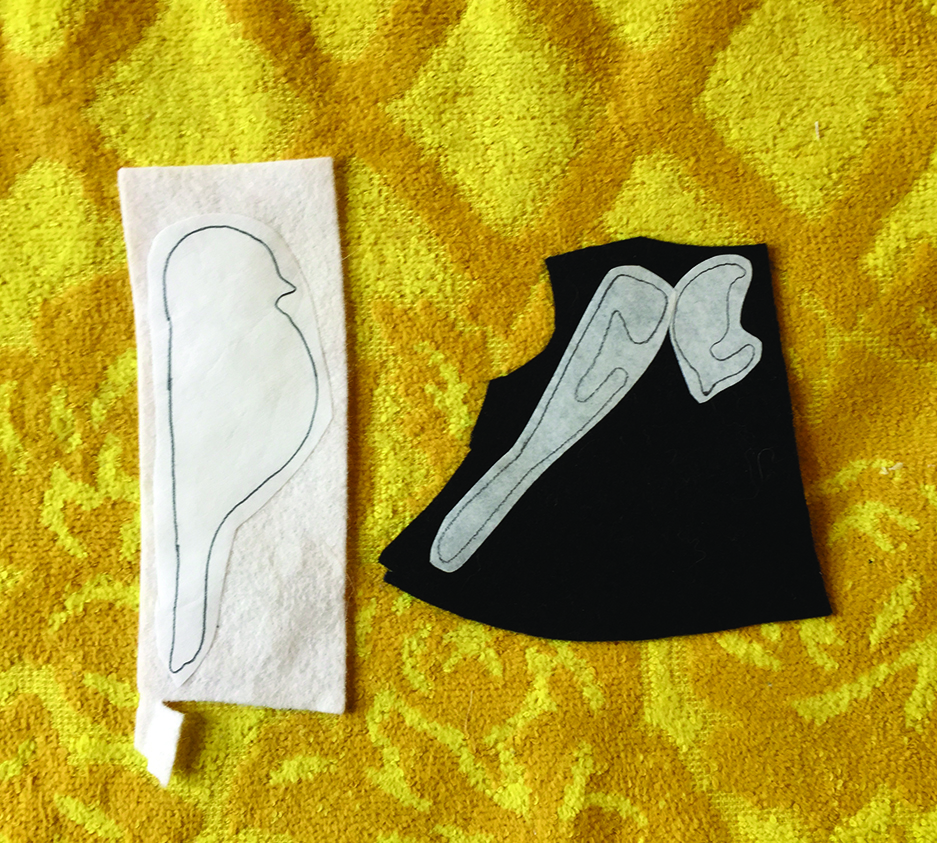
To begin, trace the body pattern of the bird onto freezer paper. Trace the black marking pieces onto fusible web.
Cut out all pieces from the papers close to the line but not right on the line.
With a warm iron, fuse pieces drawn onto the fusible web to your black wool felt. Be sure to place the shiny side onto the fabric or you’ll have a sticky mess on your iron!
Press body piece drawn on freezer paper onto your white wool felt. Cut body out of white felt, right on the line, and repeat the process so that you have two body pieces.
Cut the black marking pieces from the felt. Cut right on the line! Peel the paper backing off the web and place the marking pieces onto one of the white felt body pieces. Press in place with a warm iron.
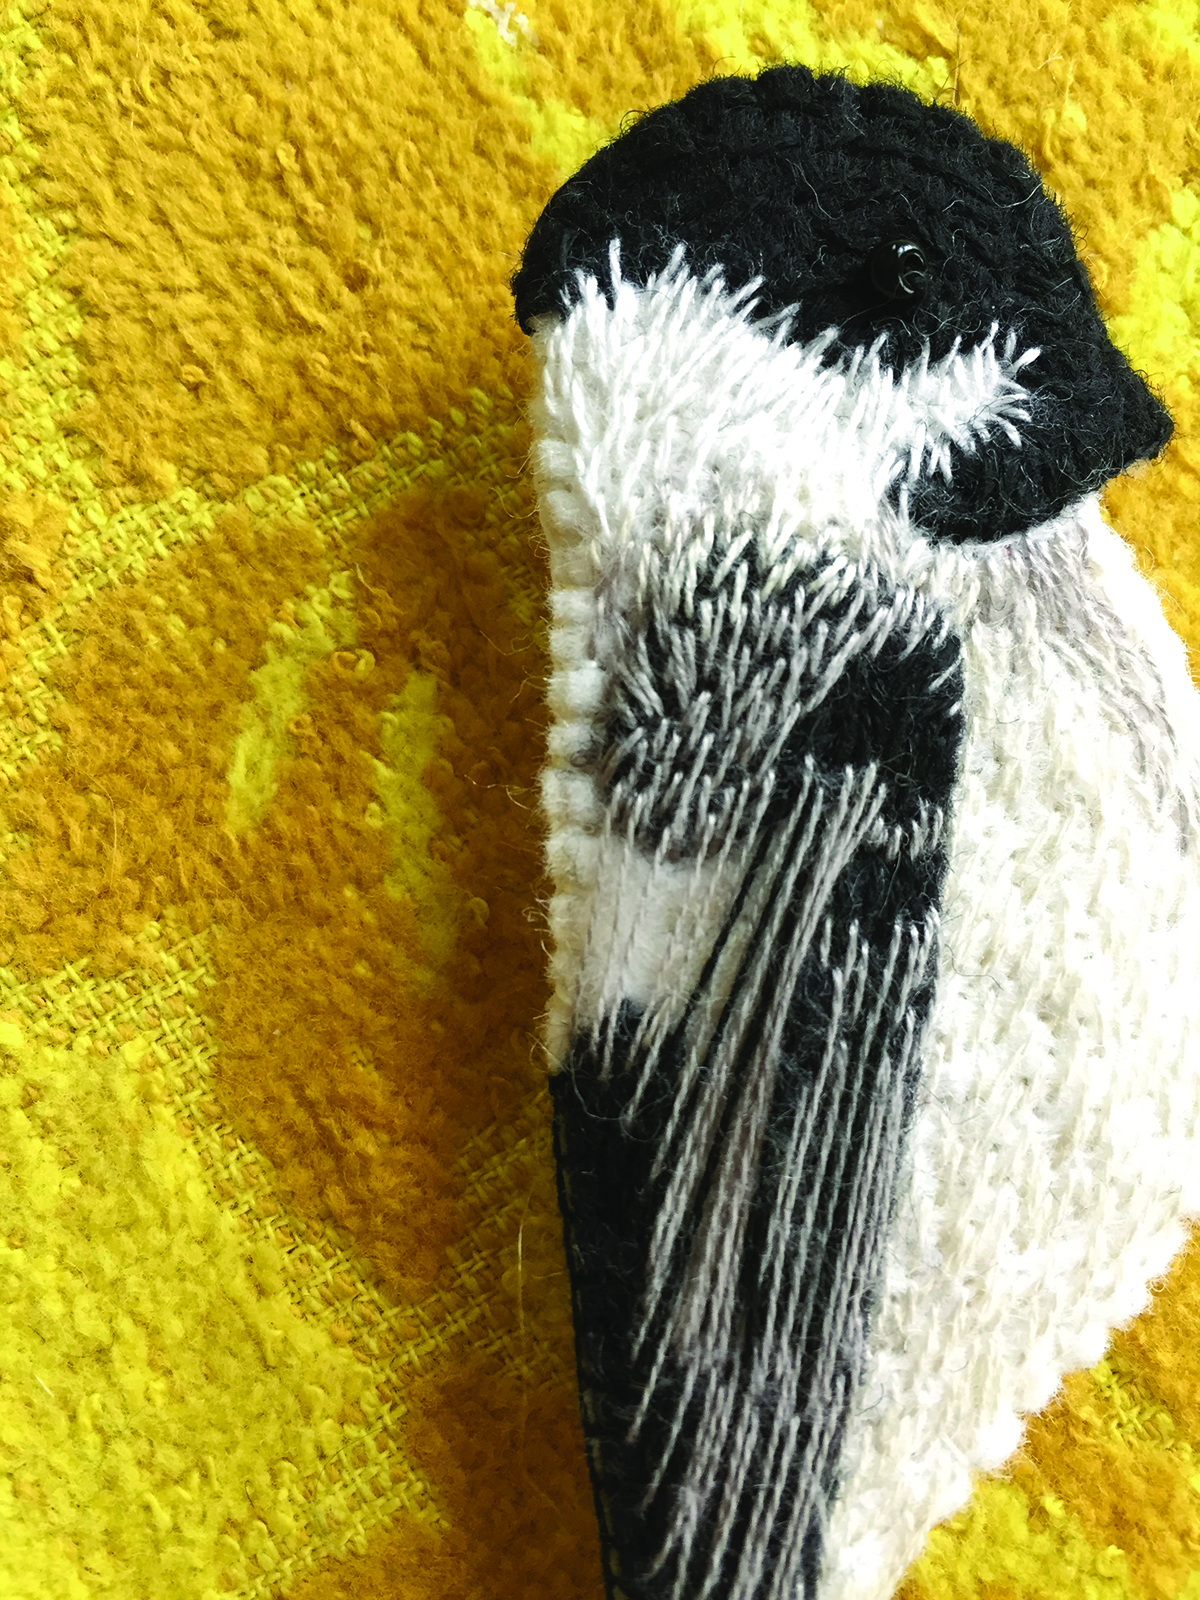
Thread a needle with one strand of cream-colored floss.

Using a straight stitch, add details down the bird’s chest, and above wing. Be sure to overlap the top of the wing just a bit to soften the edge. Keep your straight stitch shorter near the head, and a bit longer on the body. Also keep in mind the direction feathers lay on the body. You don’t want to stitch across the chest and belly, but in the direction of chin to belly.

Add a bit of wing detail with one strand of gray embroidery floss over top of wing and longer stitches on right edge of wing. Continue with long stitches over the white part of the wing.

With one strand of white floss, stitch the head on the inside of the cut out, overlapping the black cap a bit for a softer edge. Use varying stitch lengths.
With one strand of black floss, sew on the bead for his eye. Add stitches in the black felt areas, overlapping edges to soften, but don’t embroider the beak. Use longer stitches on the tail feathers, and shorter stitches on the head.

Sew pin back to the back of the second white felt body piece.

Match back body piece to front body piece and pin together.
Using a small blanket stitch or whipstitch, sew body pieces together along edges. I switched between black and white thread.
I hope you enjoyed making this little winter chickadee! I’d love to hear from you and see your final project. Post a photo on the Crazy Wisdom Community Journal page on Facebook with the tag #winterchicks.
Jennifer Carson is a local artist and writer with over 60 sewing patterns for both handcrafting and machine sewing from faeries, to unicorns, gnomes, and dragons. Visit her online at: thedragoncharmer.com or find her on Pinterest @magickal.

Grab this image, scale to desired size, and print the pattern!
Related Content:


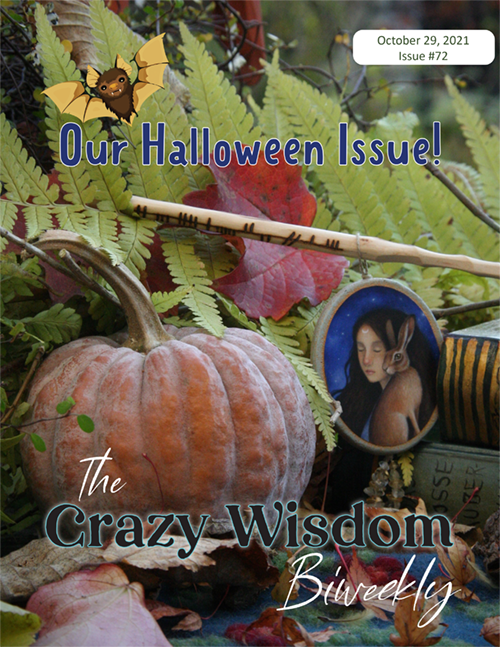


As the warm breezes shift to cool caresses on our cheeks and we pull out the warm handmade quilts from grandma and sweaters from mom, many of us turn our thoughts to gift giving. The Julbok is a pre-Christian Swedish tradition that lives on today. Some say he pulled the Tomten’s cart full of presents during the winter solstice. Some say he was the one giving out the presents. Still others claim
that he is a prankster that makes sure whomever is receiving the present is worthy of it! Traditionally, the Julbok was made of the last harvest of straw and thought to be good luck. However you celebrate as we move into winter, this sweet little Julbok is sure to be a great addition to your seasonal decorations, a Yule tree, or even as a gift topper.